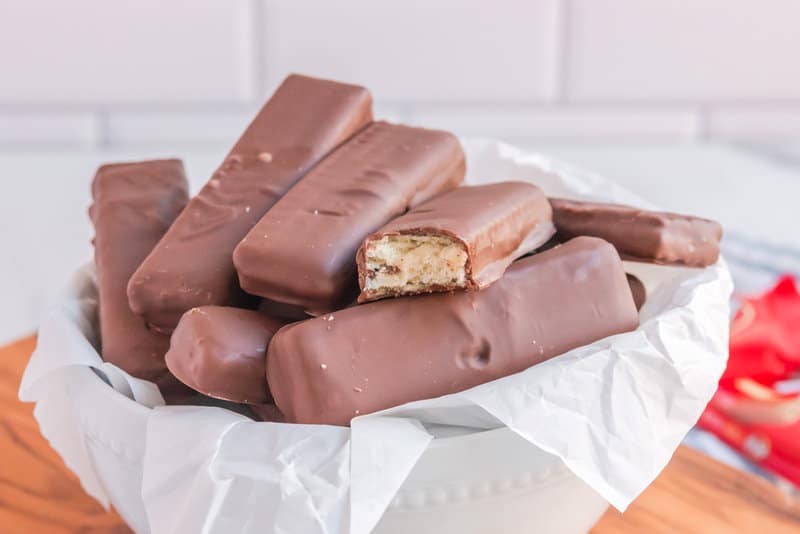
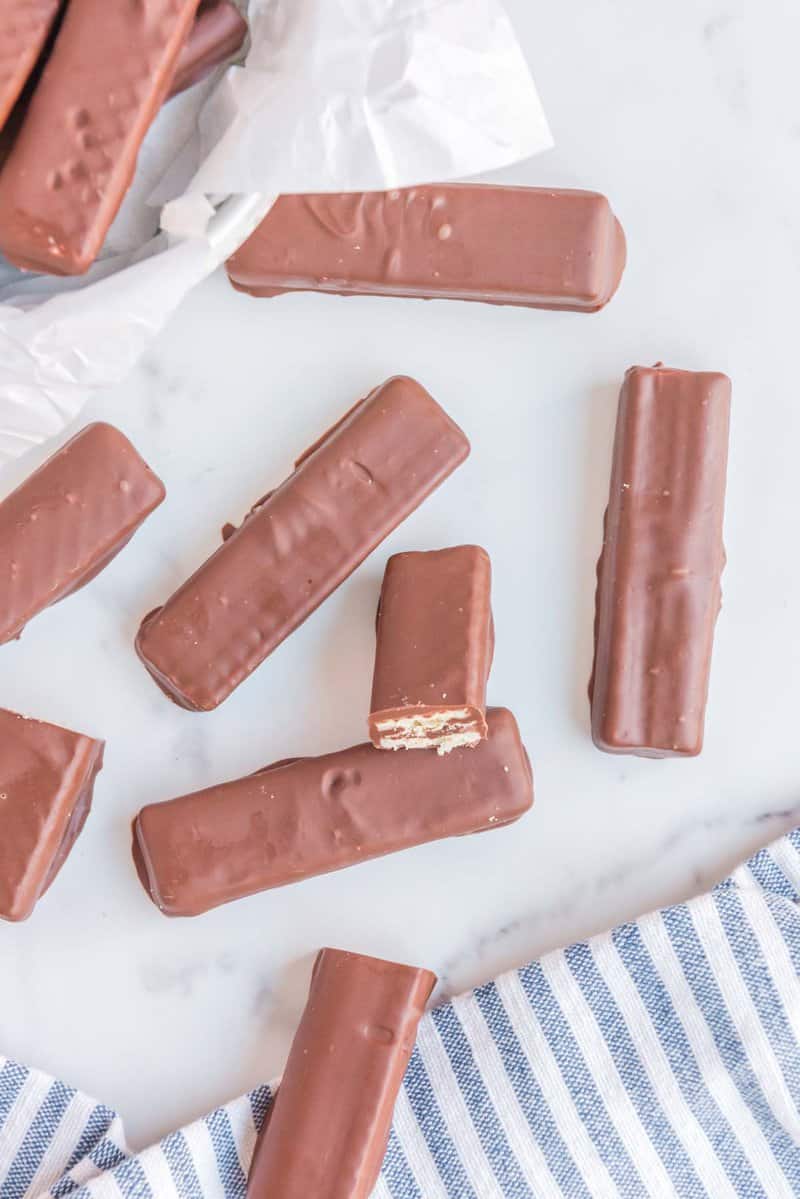
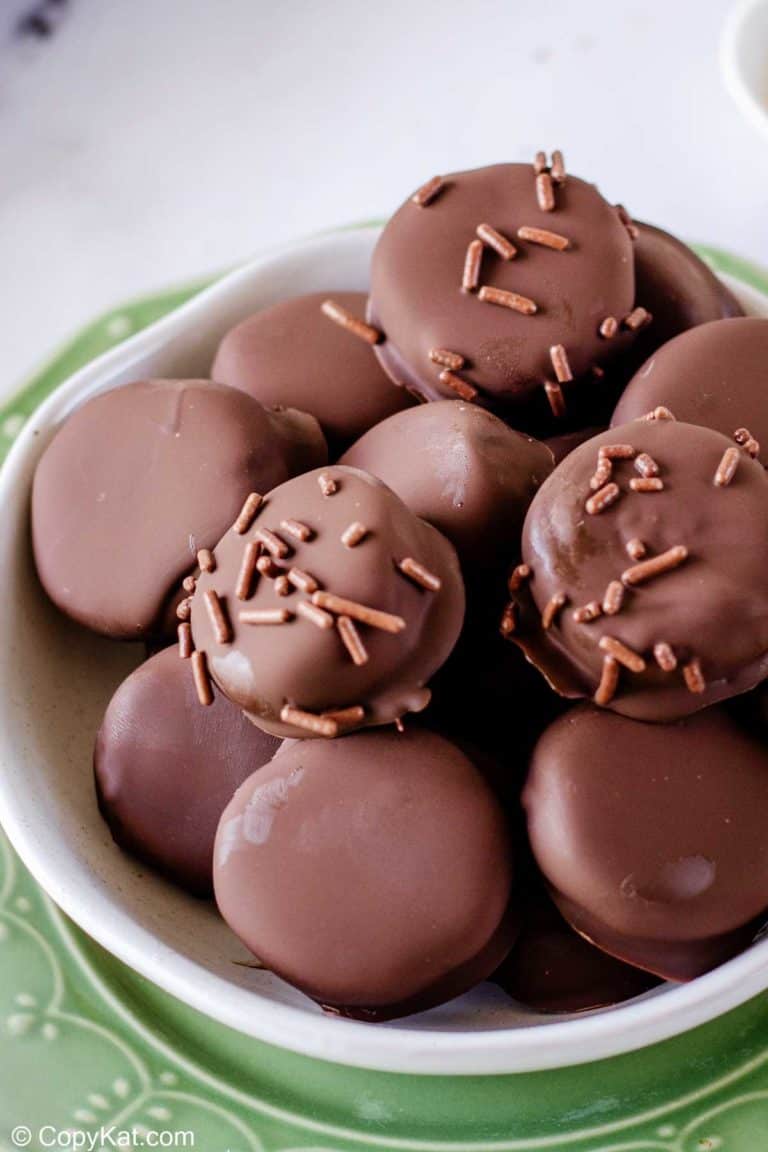
Homemade Kit Kat Bars Recipe


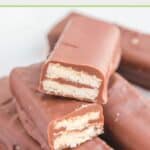

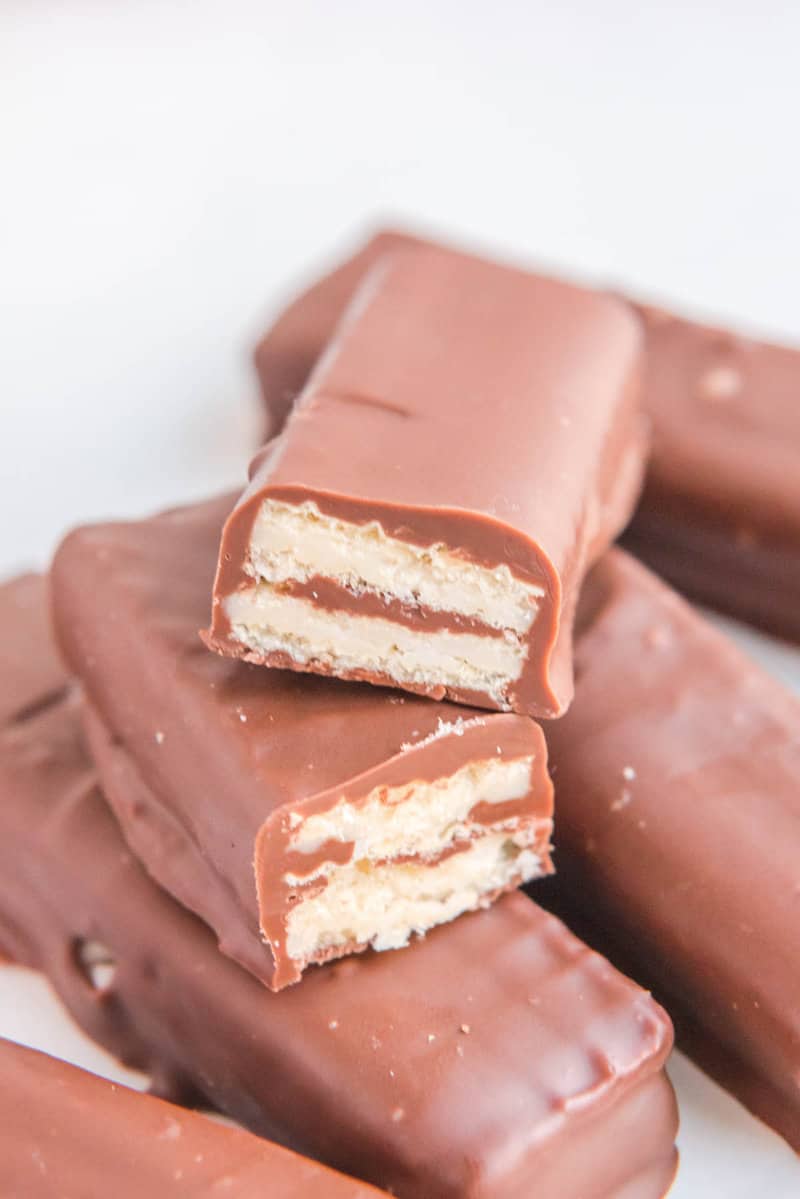
Homemade Kit Kat Bars are a wonderful treat to enjoy and share, featuring crunchy vanilla wafer cookies filled and covered in smooth chocolate. These DIY candy bars capture the essence of the beloved commercial version while allowing you to create them fresh in your kitchen. With just three simple ingredients and some patience, you can make candy bars that rival the store-bought originals.
Add this site as a preferred Google source!
This post contains affiliate links. As an Amazon Associate, I earn from qualifying purchases.
What Makes Kit Kat Bars So Good?
Kit Kats are an oddity in the candy world. They are light and airy but satisfying enough to have remained one of the world’s favorite candy bars for over 80 years.
Today, you can buy hundreds (seriously) of different flavored Kit Kats, but most people still prefer the original wafer dipped in milk chocolate version over the other flavors.
Why You Should Try to Make These Homemade Kit Kat Bars
Some versions of copycat Kit Kats use club crackers or graham crackers instead of wafers and thick layers of chocolate instead of thin ones. While these recipes may make delicious desserts, you’ll have to use your imagination to believe you’re eating a Kit Kat bar. This recipe, however, may convince you that you’re munching on the real deal by using proper techniques and ingredients.
Kit Kat Bar Ingredients
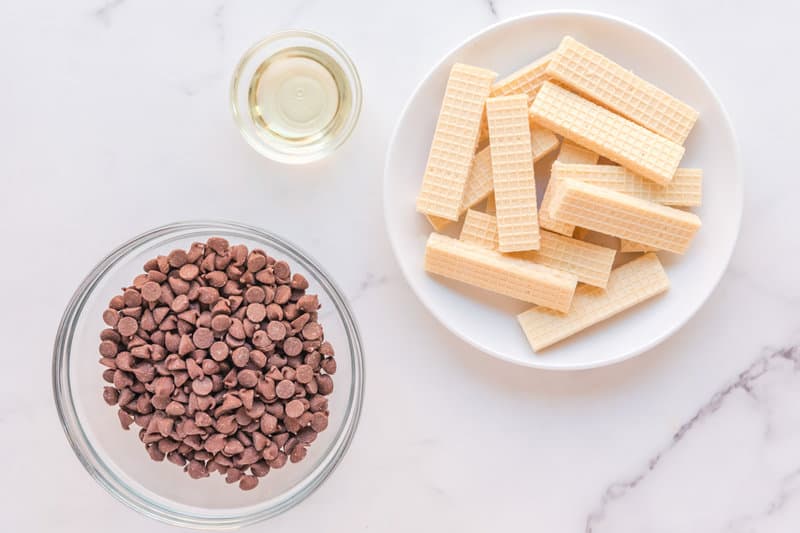
For Kit Kat candy bars, you’ll need:
- Vanilla wafers – Rectangular wafers with multiple flaky layers that provide the signature crispy texture and neutral vanilla flavor
- Semi-sweet chocolate chips – Create both the filling and coating, providing rich chocolate flavor that complements the vanilla wafers
- Vegetable oil – Thins the melted chocolate for a smooth, even coating and easier dipping
The proper vanilla wafers for this recipe are rectangular ones with multiple flaky layers and fillings.
Chocolate melting wafers melt much better than chocolate chips but can be challenging to find in the grocery store.
How to Make Copycat Kit Kats
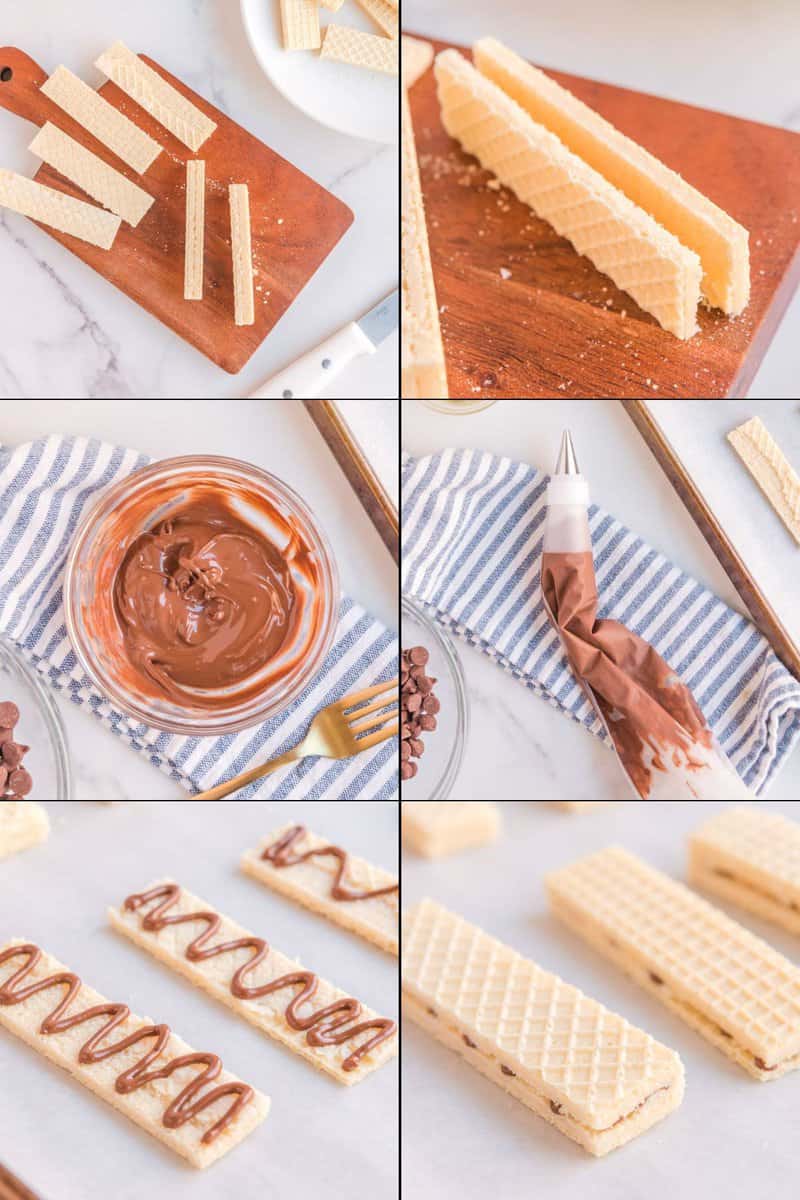
To cut the vanilla wafers:
- Split the vanilla wafers into individual pieces.
- Turn one wafer on its long side. You’ll see a cross-section of the layers.
- Use a serrated knife to cut the vanilla wafer lengthwise into a top half and a bottom half. Slice with a long, slow cutting motion to avoid crushing the wafer.
- Lay the cut wafers next to each other with the filling side up on a wax paper-lined baking sheet.
- Repeat with the remaining vanilla wafers.
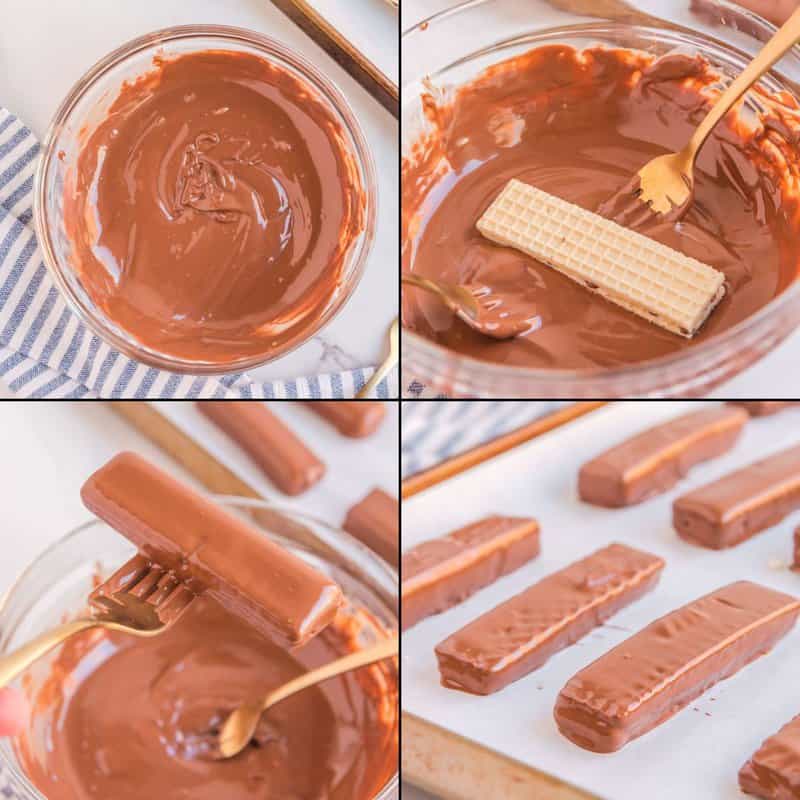
To fill the wafers with chocolate:
- Heat a half-cup of chocolate chips in a microwave-safe bowl in the microwave at 50 percent power for one minute. Stir the chocolate and continue heating and stirring in 30-second intervals until it is smooth.
- Use a piping bag or a spoon to carefully drizzle a thin line of melted chocolate down the middle of the bottom half of the cut wafers.
- Place the top half of the wafer on the bottom half.
- Put the baking sheet with the filled wafers in the fridge for one hour.
To dip the vanilla wafers in chocolate:
- Remove the chilled chocolate-filled wafers from the fridge.
- Heat the milk chocolate at 50 percent power for one minute. Stir the chocolate and continue heating in 30-second intervals and stirring until smooth.
- Stir the vegetable oil into the melted chocolate. The extra fat from the oil will thin out the melted milk chocolate and make it easier to coat the wafers evenly.
- Use a chocolate dipping tool or fork to dip the wafers in the melted chocolate mixture.
- Gently jiggle the dipped vanilla wafer over the bowl to shake off excess chocolate. Place the chocolate-dipped wafer on the wax paper-lined baking sheet.
- Repeat the dipping process with the remaining vanilla wafers.
- Return the baking sheet with the homemade Kit Kats to the fridge for at least an hour before serving.
Recipe Variations
While you may not be able to recreate the hundreds of different varieties of Kit Kats that are available around the world, here are two versions you can make at home:
- Dark Chocolate Kit Kat Candy Bars. Use dark chocolate instead of milk chocolate. It takes a little longer to melt dark chocolate than milk chocolate,
- White Chocolate Kit Kat Candy Bars. Replace the milk chocolate with white chocolate. Since white chocolate isn’t chocolate, it takes less time to melt and can scorch easily. Reduce the heat time to 20-second intervals.
What to Serve With Homemade Kit Kats
Try dunking these Kit Kats in a glass of milk or tea.
Storage & Reheating Instructions
- Refrigerator Storage: Store candy bars in airtight containers in the refrigerator with waxed paper between layers to prevent sticking. Keep for up to 1 week.
- Reheating Method: These candy bars are meant to be enjoyed chilled and do not require reheating.
- Freezing: Can be frozen for up to 2 months in freezer-safe containers. Thaw in the refrigerator before serving.
Favorite Chocolate Candy Recipes
- Chocolate Peanut Butter Balls
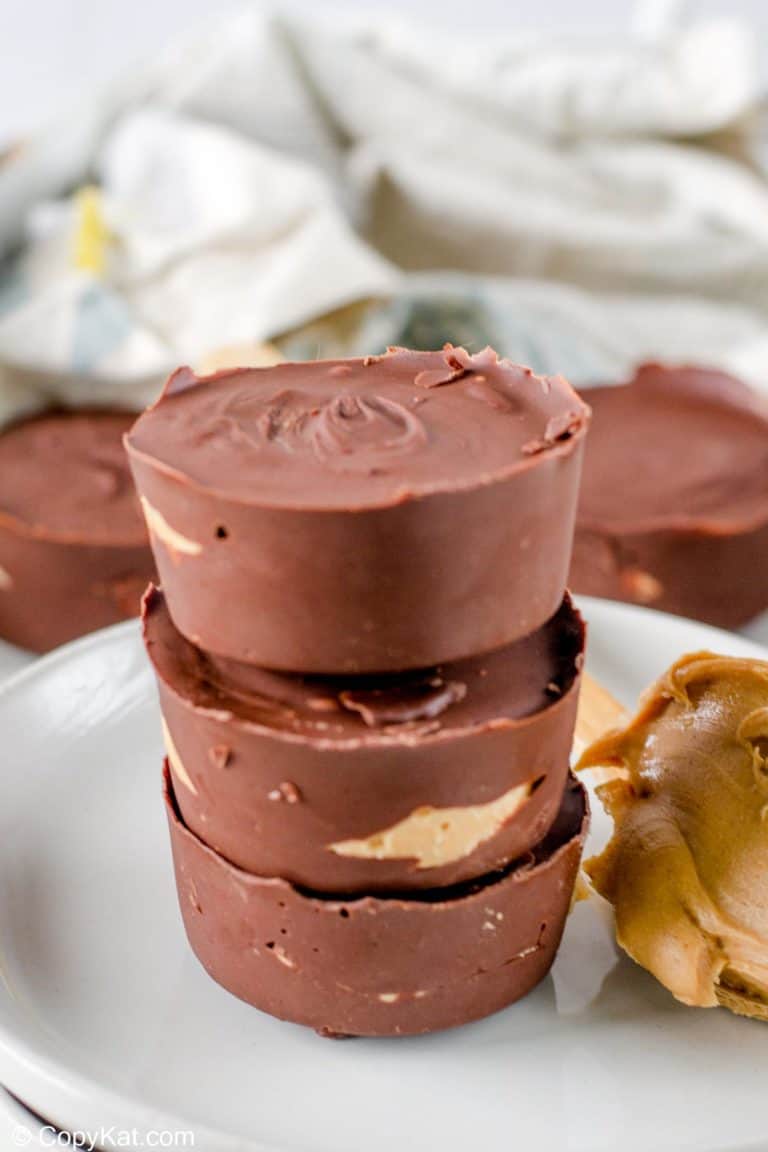
- Homemade Reese’s Peanut Butter Cups
- Homemade Twix Bars
- Lindt Truffles
- York Peppermint Patties
Popular Chocolate Desserts and Treats
- Chocolate Crinkle Cookies
- Chocolate Delight
- Chocolate Fondue
- Chocolate Pudding Cake
- Chocolate Sandwich Cookies
- Frozen Hot Chocolate
- German Chocolate Pie
- Homemade Hot Chocolate
Check out more of my easy candy recipes and the best DIY recipes on CopyKat!
Plus you’ll get great new recipes from us every week!
Homemade Kit Kat Bars – Easy DIY Recipe
Ingredients
- 15 vanilla sugar wafers
- 2 cups semi-sweet chocolate chips divided use
- 1 tablespoon vegetable oil
Instructions
- Line a large baking sheet with parchment paper.
- Using a sharp knife, carefully cut each vanilla wafer in half through the middle, creating two thinner wafers. Place one half of each wafer on the baking sheet.
- Place about 1/2 cup of chocolate chips in a small microwave-safe bowl and microwave on 50% power for 1 minute. Stir with a fork and return to the microwave for 30-second intervals on 50% power, stirring in between, until the chocolate is silky smooth.
- When the chocolate is melted, put it in a piping bag with a small round attachment. You can also use a plastic zip-top bag with a corner cut off to create a small hole. Pipe the chocolate onto the upward face of each vanilla wafer half on the baking sheet, placing the second half of each wafer on top as soon as the chocolate is added. Refrigerate for 1 hour.
- Near the end of the chill time, place the remaining chocolate chips in a medium-sized, microwave-safe bowl. Microwave on 50% power for 1 minute. Add the vegetable oil and stir. Continue to microwave the chocolate in 30-second intervals on 50% power, stirring in between, until the chocolate is silky smooth.
- Using two forks or dipping tools, dip each wafer sandwich into the melted chocolate, covering it completely. Gently shake side to side as the wafer rests on the fork to sling off any excess chocolate before placing the chocolate-covered cookie back on the baking sheet. Refrigerate for at least 1 hour, until the chocolate shell is completely hardened.


I’m sure they’d be good with any chocolate, but I thought you used milk chocolate, even though your recipe said semi-sweet. Are real KitKats made with semi sweet? I’ve eaten quite a few, but never paid attention. I thought yours looked lighter. Can’t wait to try.
KitKat bars have milk Chocolate not semi sweet.
Looks darker than milk chocolate on the candy bar.