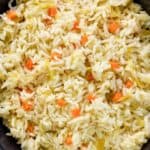
Easy Rice Pilaf Recipe (Oven Method for Fluffy Rice)


I still remember the day we learned to make rice pilaf in culinary school. Our chef instructor, with his thick French accent and impossibly white coat, insisted we master this technique before moving on to more complex dishes. “If you cannot make perfect rice,” he declared, “you cannot call yourself a cook.” What seemed like an overly dramatic statement made perfect sense once I tasted the result—fluffy, individual grains of rice with a depth of flavor I’d never achieved at home.
Add this site as a preferred Google source!
This post contains affiliate links. As an Amazon Associate, I earn from qualifying purchases.
Equipment You’ll Need
- Dutch oven or other oven-safe pot with lid
- Parchment paper
- Measuring cups and spoons
- Cutting board and knife
- Wooden spoon or spatula
- Fork for fluffing
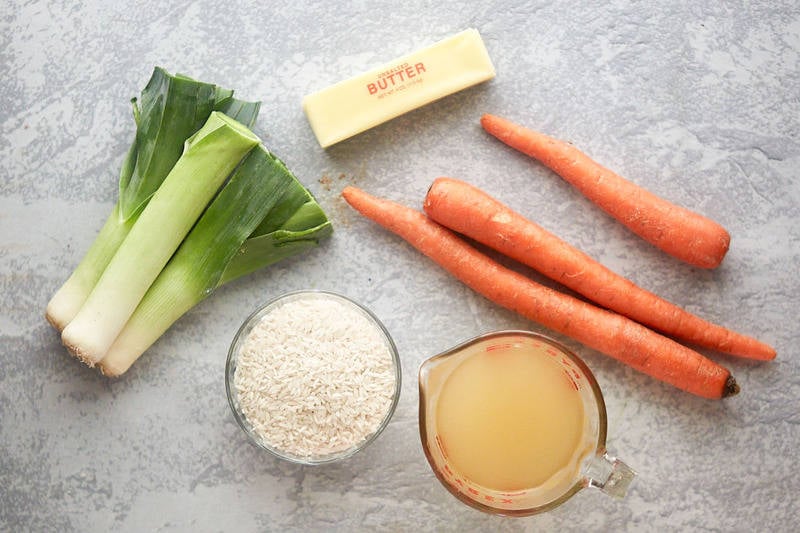
Ingredients Breakdown
- Chicken or vegetable stock – Infuses the rice with flavor as it cooks and provides the necessary moisture for perfect texture
- Butter – Creates a rich foundation for the dish and coats each grain of rice to prevent sticking while adding a wonderful flavor
- Leeks or onions – Provide an aromatic base that infuses the rice with savory flavor as it cooks
- Chopped carrots – Add natural sweetness, color, and nutritional value to balance the dish
- Long-grain white rice – The star ingredient that provides the perfect texture; its longer grains help achieve the characteristic separate, fluffy texture of pilaf
How to Make Easy Homemade Rice Pilaf
The basic technique for rice pilaf is very simple:
- Preheat your oven to 350 degrees with the rack in the middle.
- Cut a piece of parchment paper into a circle the same size as the pot you will use to cook the Rice Pilaf.
- Rinse the rice by swirling it in a bowl with cold water. Repeat until the water is clear. This vital step removes the surface starch and keeps rice grains from sticking to each other.
- Warm a large ovenproof dish, like a Dutch oven, over medium heat. Melt the butter.
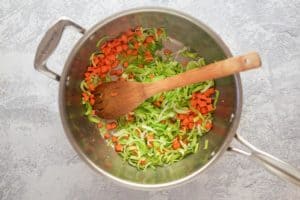
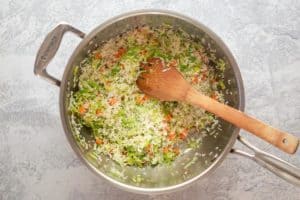
- Once the butter stops foaming, sauté the leeks or onions and carrots until tender.
- Add the rice to the pot and cook, occasionally stirring, until the rice is shiny.
- Add the liquid (stock or broth) to the rice.
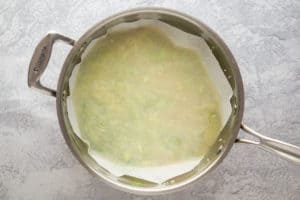
- Cover the rice with the precut piece of parchment paper and put it on the lid. The rice will simmer as it cooks in the oven.
- Bake in the preheated oven for 12 minutes.
- Remove the pot from the oven and let rest for 12 minutes
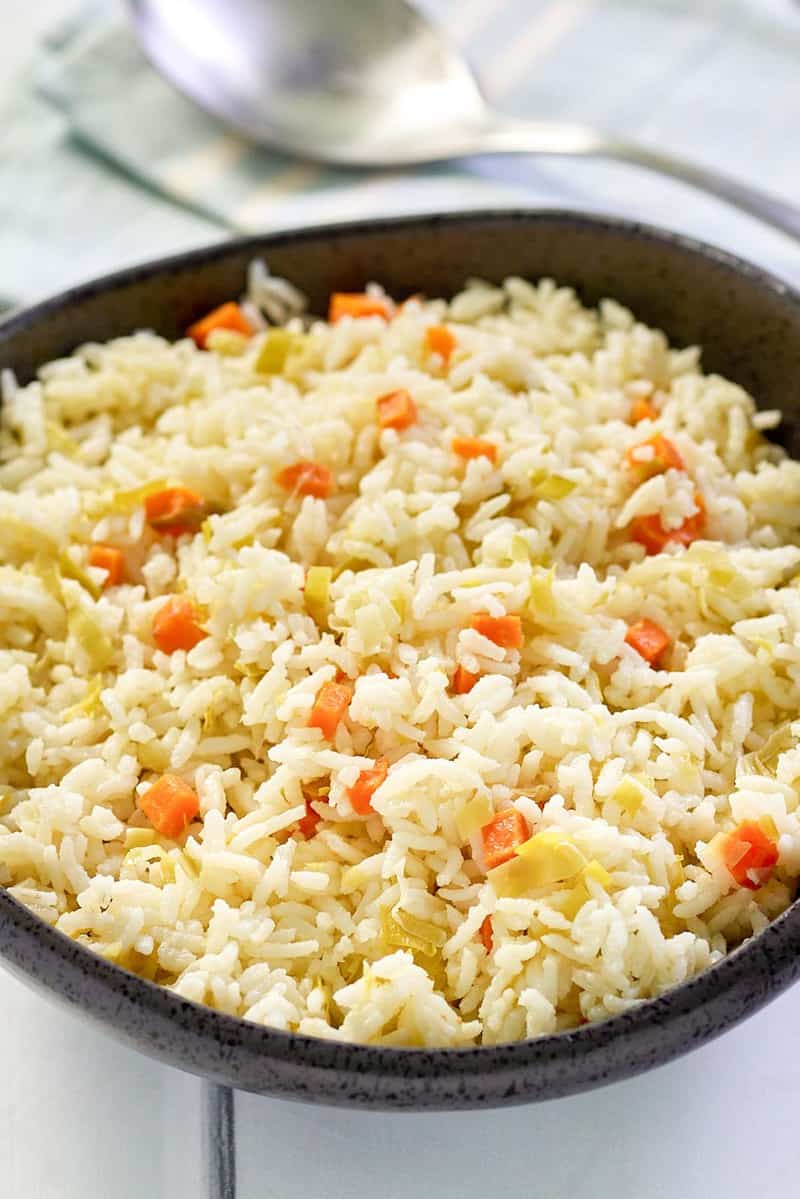
- Fluff with a fork and serve.
- You could garnish with parsley if desired.
Variations on the Recipe
This is a bit of a ‘back of the fridge’ recipe where you can add just about anything hanging out in your refrigerators a little too long. Here are a few ideas.
- Start by upping the aromatics. Chopped garlic is excellent in this dish. Just add it with the onions or leeks.
- The more vegetables, the better. Chopped celery can go in with the onions or leeks, and frozen green peas are great when added to the pot along with the broth.
- A bay leaf and a pinch of dried oregano and dried thyme mixed with the broth will significantly improve the taste.
- Swapping a mushroom broth for a chicken broth keeps the rice pilaf vegetarian and gives the dish a deep umami flavor.
Complete Meal Ideas:
- Weeknight Easy: Serve alongside rotisserie chicken and a simple salad
- Mediterranean Dinner: Serve with Greek chicken, a cucumber tomato salad, and tzatziki
- Comfort Food Classic: Pair with meatloaf, green beans, and dinner rolls
- Elegant Dinner Party: Accompany with beef tenderloin, roasted asparagus, and a light salad
Storage and Reheating Instructions
Storing Leftovers
- Refrigeration: Cool rice pilaf completely, then store in an airtight container in the refrigerator for up to 2 days. Rice dishes should not be kept for longer periods due to food safety concerns.
- Freezing: Spread cooled rice pilaf in a thin layer on a baking sheet and freeze until solid (about 1 hour). Transfer to freezer bags or containers and store for up to 1 month.
Reheating for Best Results
- Microwave Method (Quick but less ideal): Place pilaf in a microwave-safe dish with 1 tablespoon of water or stock per cup of rice. Cover with a damp paper towel and microwave on 70% power for 1-2 minutes, stir, and continue in 30-second intervals until heated through.
- Oven Method (Best for maintaining texture): Place pilaf in an oven-safe dish, add 1-2 tablespoons of water or stock per cup of rice, cover tightly with foil, and heat at 350°F for 15-20 minutes until hot throughout.
- Stovetop Method: Place pilaf in a skillet with 1-2 tablespoons of water or stock per cup of rice. Cover and heat over medium-low heat, stirring occasionally, until hot (about 5-7 minutes).
More Great Rice Recipes
- Cajun Rice
- Cilantro Rice
- Cheesy Broccoli Rice Casserole
- Hibachi Fried Rice
- Italian Rice Balls
- Parmesan Risotto
- Stick of Butter Rice Instant Pot
Popular Side Dish Recipes
- Boiled Cabbage
- Fried Okra
- Homemade Coleslaw
- Lyonnaise Potatoes
- Mashed Potato Pancakes
- Mixed Vegetables
Check out more of my easy side dish recipes and the best budget-friendly recipes here on CopyKat!
Plus you’ll get great new recipes from us every week!
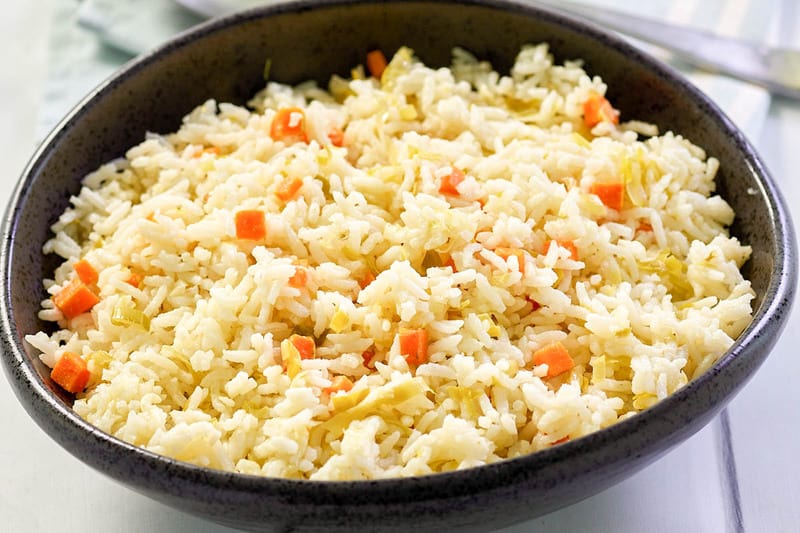
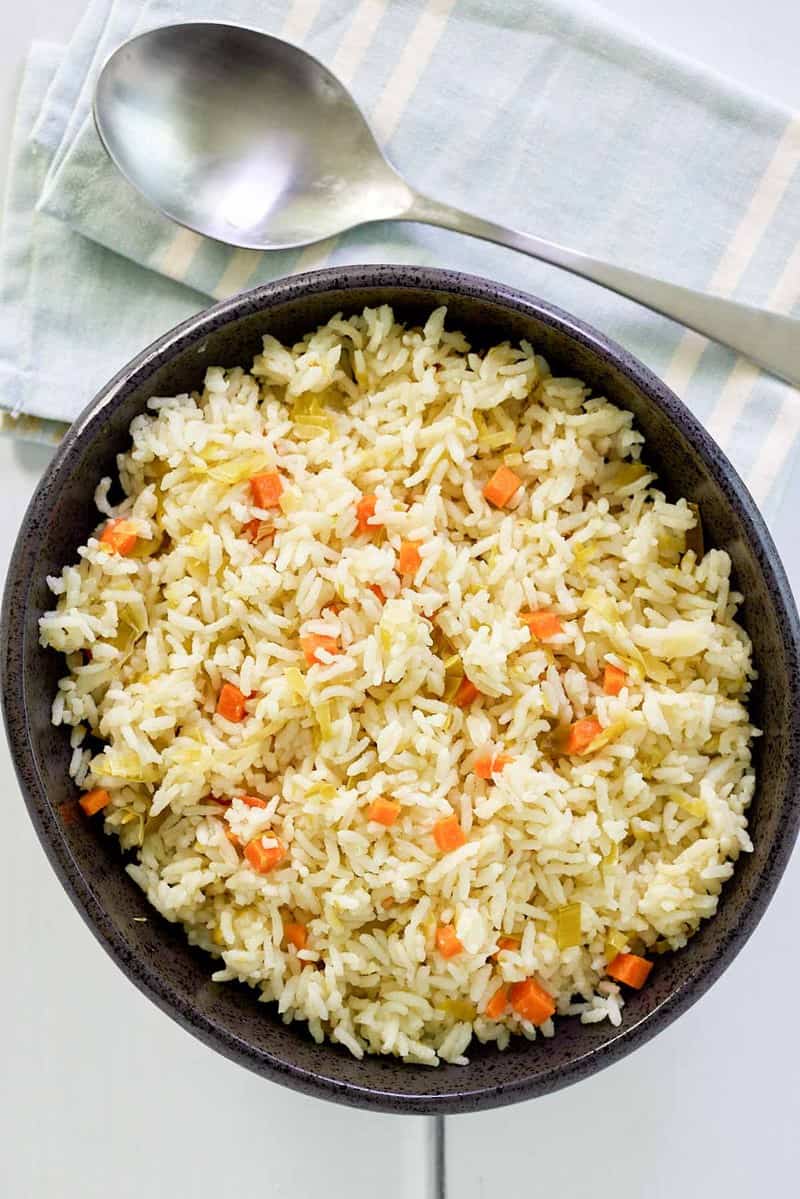
Easy Homemade Rice Pilaf
Ingredients
- 3 tablespoons butter
- 1 cup chopped leeks or onions
- 2 tablespoons chopped carrots
- 2 cups uncooked rice
- 4 cups chicken or vegetable stock
Instructions
- Preheat the oven to 350°F.
- Heat the butter in an ovenproof pot over medium heat.
- When the butter has melted, add the leeks and carrots, and sauté until the leeks have become tender.
- Add the rice, and cook until the rice becomes shiny. Then add the stock.
- Place a paper tent over the rice, place the lid on the pot, and bake for about 12 minutes.
- Remove the rice from oven and allow it to rest for another 12 minutes.
- Then remove the lid and paper tent, stir, and serve.
Video
Notes
Pro Cooking Tips for Perfect Rice Pilaf
- The Rinse is Non-Negotiable: Don’t skip rinsing the rice. This removes the surface starch that would otherwise make your pilaf gummy instead of fluffy. Rinse until the water runs almost clear.
- Watch Your Heat: When sautéing the rice in butter, maintain medium heat. Too hot, and the butter will burn; too low, and the rice won’t get that crucial toasting that helps keep the grains separate.
- The Parchment Paper Trick: The parchment paper lid (called a cartouche in professional kitchens) creates a microenvironment of perfect steam distribution. If you don’t have parchment, aluminum foil shaped to fit works as a substitute.


Looks super easy to make!
Thanks a lot for sharing.
Excellent video, very good
Elva Hooson, what a delicious recipe! I remembered my mother, she makes wonderful rice! thank you
This sounds delightful and delicious also ?
Thank you so much for sharing this delicious rice recipe, my wife and I did together and it was a real delight, very good.
Wow! How delicious it made me hungry watching the video! I’ll test the recipe at home, then come back to talk how it was! I hope it looks good, just like your
I really liked the video! It has now become much easier for me to make rice pilaf
This blog was a relief to me, here I found all the tips for rice to taste! When I learn to make the right rice, I go here and give my feedback
Made this today, and I am very happy I did.
The video is very helpful.
I made half a portion. About 14 mins in the oven.
It was perfect. I will use this foolproof recipe often.
Thank you so much.
Great video it helps me lot in my is takes
Excellent video. Now I see where I was wrong to make rice pilaf
I have been rasing 2 children alone and did not know how to cook! So the internet has been a blessing so has your site. I will try this tomorrow with sweet and sour chicken. I have been afraid to do certain rescieps but ok if it is bad I have 2 dogs that never refuse food, thank you. What ever you do next is fine with me. Bless you
Thank you. I am glad you have enjoyed the website!
Great Video..I love Pilaf. One question…why does the pan have to go into the oven…can it be finished on a low, slow burner?
How you cook the rice doesn’t really matter, but cooking on a burner adds a layer of burnt rice at the bottom, whilst using the oven cooks the rice evenly on all sides.
Side note, soaking the long grain rices in cold water for an hour before frying lets it grow extra long, giving the more authentic pilaf experience! you would have to reduce the amount of water added later though!
For what it is worth, I took a semester of French Culinary school recently and this is the technique we used. I know this technique well, as I messed it up the first time, and my chef had me make pilaf whenever we needed a rice dish 😉
This sounds delightful and delicious also!!
Elva Hooson
Thank you. I hope you give this a try.
Are you using instant rice?
No, I used long grain white rice.
Great video I always seemed to mess up any rice pilaf I’ve tried. This video of yours helped I never put the rice in the oven before can’t wait to try it thank you so much
I hope the video helps I love making homemade rice pilaf.