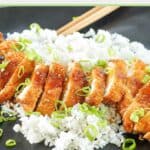
Crispy Japanese Chicken Katsu with Homemade Tonkatsu Sauce


The first time I tried Chicken Katsu at a small Japanese restaurant in Houston, I was amazed by how something so simple could taste so incredible. That perfectly crispy exterior giving way to juicy, tender chicken inside became an instant obsession. After numerous attempts to recreate that magic at home, I’m excited to share this foolproof recipe that consistently delivers restaurant-quality katsu.
Add this site as a preferred Google source!
This post contains affiliate links. As an Amazon Associate, I earn from qualifying purchases.
What makes this Katsu Chicken recipe so good?
Who doesn’t love chicken with a crispy texture? One of the standout features of chicken katsu is its crispy exterior. Panko breadcrumbs are used, and they deliver a satisfying crunch. The inside of this crunchy delight is tender and perfectly seasoned. Chicken katsu is versatile; it can be served on top of a bed of rice, alongside a bed of cabbage, in a sandwich, or even as a topping for curry.
Why you will love this recipe
- Achieves the perfect balance of crispy exterior and juicy interior
- Uses simple ingredients you can find at any grocery store
- Takes less than 30 minutes of active cooking time
- Versatile serving options for any meal
- Restaurant-quality results at a fraction of the cost
What is Chicken Katsu?
The Japanese word “katsu” means cutlet in English and refers to meat that is pounded thin before being cooked. Chicken katsu is a Japanese dish known as panko chicken or tori katsu. It is Japanese-style fried chicken with a crispy crust.
Seasoned chicken is coated with panko breadcrumbs, which are light and crispy when cooked. This gives the chicken a satisfying crunch and a taste of moist, juicy meat.
Chicken katsu is traditionally served with white rice and tonkatsu sauce, a thick and tangy Japanese vegetarian brown sauce. (You can see how to make this sauce below.) Don’t be afraid of making a Japanese dish – this one is straightforward.

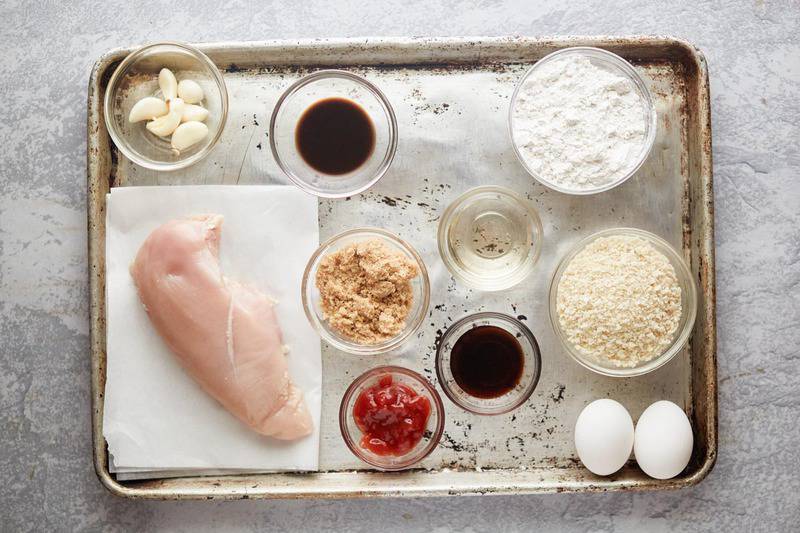
Chicken Katsu Ingredients
This chicken katsu recipe has two components: katsu chicken and katsu sauce.
Here’s what you need for the katsu chicken:
- Boneless, skinless chicken breasts – provide a tender, juicy base
- Salt – enhances flavor and helps retain moisture
- All-purpose flour – creates the first layer of coating that allows panko to adhere
- Large eggs – act as the “glue” to hold the breading
- Water – thins the egg mixture for better coating
- Panko bread crumbs – create the signature ultra-crispy exterior)
- Vegetable oil for cooking – provides the medium for achieving the perfect golden-brown crust
Here’s what you need for the chicken katsu sauce:
- Ketchup – provides a tomato base and natural sweetness
- Soy sauce – adds umami and saltiness
- Brown sugar – balances flavors and adds depth
- Mirin (rice wine) – brings sweetness and authentic Japanese flavor
- Worcestershire sauce – adds tangy complexity
- Fresh ginger root – provides subtle heat and aromatics
- Garlic cloves – adds savory depth
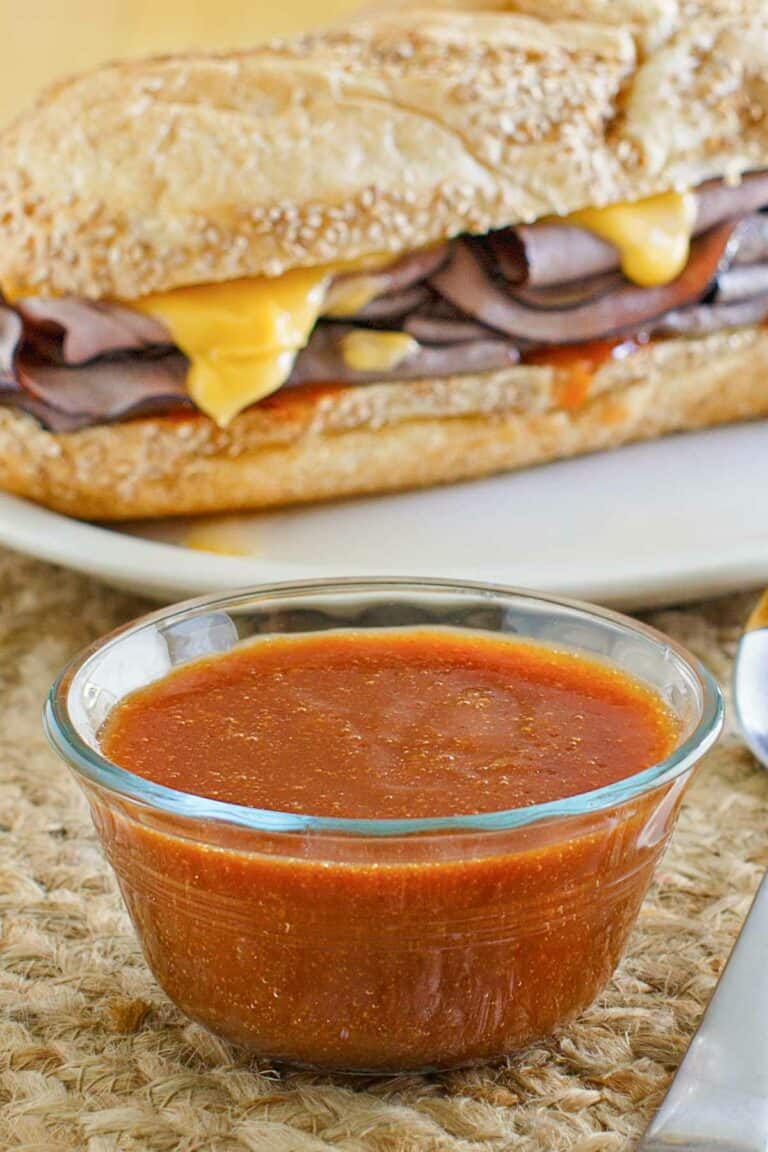
How to Make Tonkatsu Sauce
- Place ketchup, soy sauce, brown sugar, mirin, Worcestershire sauce, grated ginger, and finely minced garlic in a bowl. Stir to combine.
- Prepare the sauce at least 30 minutes before using it.

How to Make Chicken Katsu
- Place the halved chicken breasts between plastic wrap and gently pound them out to about ¼-inch thick.
- Salt the chicken liberally, cover it, and refrigerate for about 1 hour.

- Set up a breading station with three shallow bowls. The first one with all-purpose flour, the second with eggs beaten with water, and the third with panko breadcrumbs.
- Place chicken in the flour, turn to coat it on all sides, then shake off any excess flour.
- Dip the floured chicken into the egg mixture, coat it well, then shake off any excess.
- Dredge the chicken in Panko breadcrumbs. Shake off excess.
- Place the breaded chicken on a wire rack.

- Preheat the oven to 200°F.
- Add enough vegetable oil or canola oil to a large cast-iron or stainless steel skillet to be ½-inch deep. Heat the oil to 350 degrees F over medium-high heat.
- Deep fry the chicken in the pan for 1 to 2 minutes, just until the crust sets. Flip the chicken over and cook for 1-2 minutes. Continue cooking the chicken and flipping it over until it is golden brown on both sides.
- Remove the chicken from the skillet. Drain excess grease on a clean wire rack over a baking sheet. I don’t recommend placing the chicken on paper towels because it will steam, and the crust will get soggy. Place the chicken in the 200°F oven to finish cooking (until the internal temperature is 165°F when checked with an instant-read thermometer).
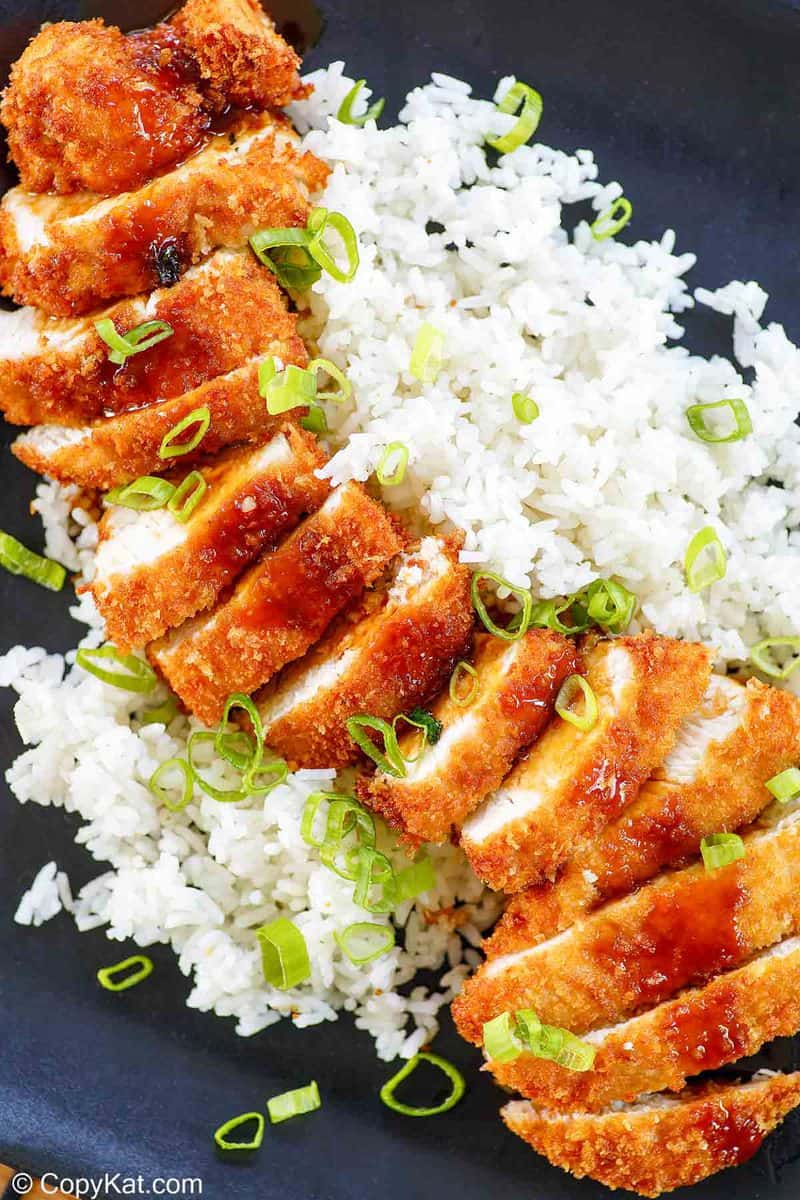
- Cut the chicken into thin strips and serve with katsu sauce and rice.
Plus you’ll get great new recipes from us every week!
Crispy Authentic Chicken Katsu with Homemade Tonkatsu Sauce
Ingredients
Katsu Sauce
- 1/2 cup ketchup
- 2 tablespoons soy sauce
- 2 teaspoons brown sugar
- 1 tablespoon mirin
- 2 teaspoons Worcestershire sauce
- 1 teaspoon freshly grated ginger
- 1 teaspoon finely minced garlic
Chicken Katsu
- 1 pound boneless skinless chicken breast cut in half horizontally
- salt
- 1 1/2 cups all-purpose flour
- 3 eggs
- 1 1/2 tablespoons water
- 3 cups panko breadcrumbs
- vegetable oil for cooking
Instructions
Katsu Sauce
- Place all of the ingredients in a small bowl, and stir to combine.
- Let the sauce rest at least 30 minutes before serving.
Chicken Katsu
- Place halved chicken breast between some plastic wrap and gently pound out the chicken until it is about ¼ inch thick.
- Salt the chicken liberally, cover, and place in the refrigerator for about 1 hour. This will help the chicken break down and become super juicy. You could omit this step, but the chicken will come out better if you let the chicken rest.
- Set up a breading station with three bowls. Place the all-purpose flour into one bowl. Beat the eggs and 1 1/2 tablespoons of water together very well, and pour into a second bowl. Place the panko breadcrumbs into the third bowl.
- Coat the chicken as follows: Place the chicken into the flour and shake off any excess. Dip into the egg wash, coat well, and shake off any excess. Dredge in the panko breadcrumbs.
- Place the coated chicken on a wire rack.
- Preheat the oven to 200°F.
- Add enough vegetable oil to coat the bottom ½ inch of either an iron skillet or a stainless steel pan and heat to 350°F. Your pan should be large enough not to overcrowd the chicken.
- Add the chicken to the pan and cook for 1 to 2 minutes, just until the crust sets.
- Flip over and cook for another 1 to 2 minutes.
- Continue cooking the chicken and flipping it over until it is golden brown on both sides.
- Remove the chicken and place on a clean wire rack. Place into the preheated oven to finish cooking. Depending on the thickness of your chicken, the chicken may need another 7 or 8 minutes of cooking. Chicken should be 165°F before consuming.
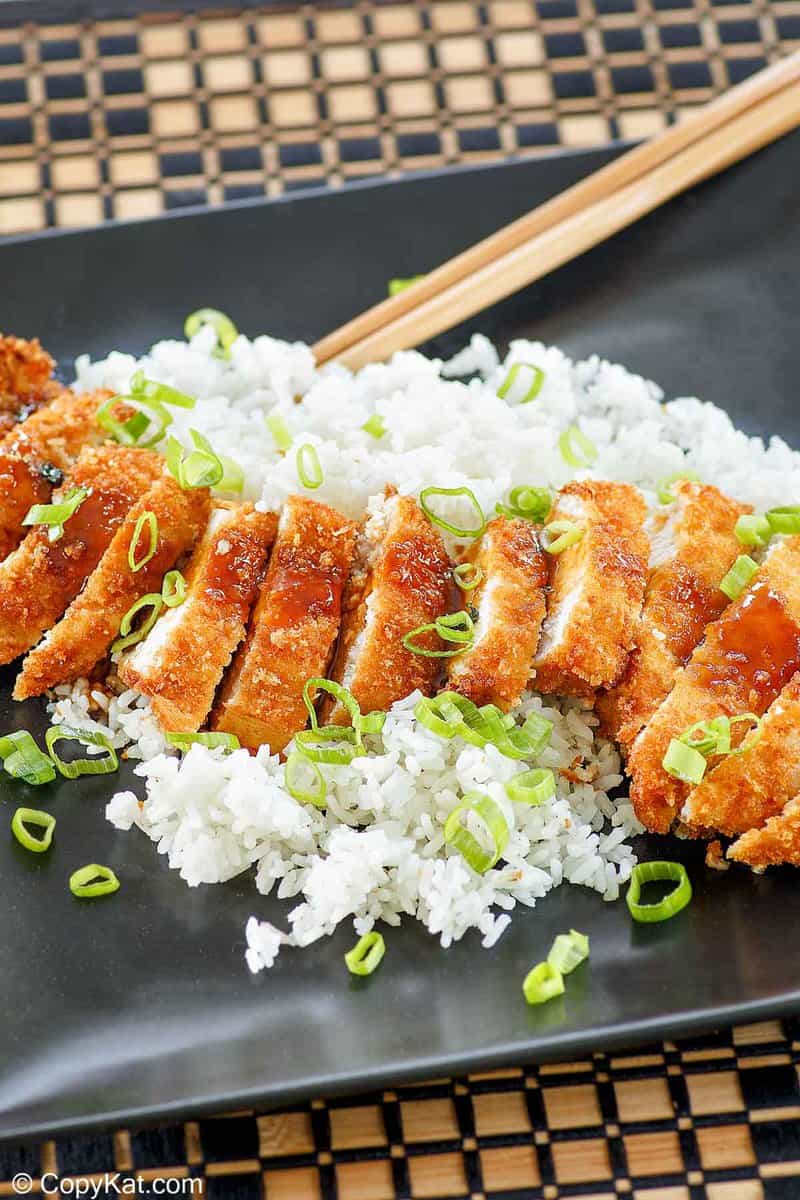
- When the chicken is fully cooked, cut into thin strips that you can pick up with chopsticks.
- Serve with rice, tonkatsu sauce, or your favorite brown sauce.
Video
Nutrition
Pro Tips for Perfect Katsu
- Use fresh panko breadcrumbs for maximum crispiness
- Don’t skip the resting time after salting
- Maintain oil temperature between 340-360°F
- Don’t overcrowd the pan while frying
- Use a wire rack instead of paper towels to prevent a soggy bottom
Common Problems and Solutions
Breading Falls Off
- Solution: Ensure chicken is dry before flouring
- Pat chicken with paper towels
- Press breading firmly onto the chicken
Chicken Not Cooking Evenly
- Solution: Ensure uniform thickness
- Use a meat mallet to pound evenly
- Let the chicken come to room temperature before frying
Greasy Result
- Don’t press the chicken while frying
- Solution: Maintain proper oil temperature
- Use a wire rack for draining
Dietary Modifications
Gluten-Free Version
- Use gluten-free panko
- Substitute tamari for soy sauce
- Use gluten-free flour blend
Lighter Version
- Air fry instead of deep fry
- Use chicken tenderloin
- Bake at 400°F for 20-25 minutes
What can you serve with Chicken Katsu?
Serving homemade Chicken Katsu with complementary side dishes that will help round out the meal. Here are some options:
- Steamed White Rice: A classic pairing, providing a neutral base that complements the crispy chicken.
- Japanese Curry: Adding a rich and flavorful curry alongside Chicken Katsu creates a hearty and satisfying meal.
- Cabbage Salad: A light and refreshing side, often thinly sliced and dressed with a light vinaigrette.
- Miso Soup: A warm and comforting choice that adds a traditional Japanese touch.
- Pickled Vegetables: Such as radishes or cucumbers, offering a tangy contrast to the fried chicken.
- Soba Noodles: Cold or hot, these buckwheat noodles can be a delightful side, especially when seasoned with a light sauce.
- Tempura Vegetables: For an indulgent meal, adding various tempura-fried vegetables can be delightful.
- Sweet Corn: Either as a simple boiled corn or a more flavorful corn salad.
- Fried Rice: A more flavorful and filling option compared to plain white rice.
- Green Beans or Broccoli: Lightly steamed or sautéed with garlic, these vegetables can add a healthy and crunchy element to the meal.
These sides can balance the flavors and textures, making the Chicken Katsu meal more enjoyable and well-rounded.
Make Chicken Katsu for Dinner!
Everyone loves fried chicken, and this crunchy and delicious copycat chicken katsu recipe is sure to be a hit. It’s a winner’s dinner! Serve with tonkatsu sauce or your favorite barbecue sauce. (See above for how to make your own tonkatsu sauce.) Tell me how your family enjoyed this Japanese fried chicken recipe – I love hearing from my fellow cooks.
How to Store Chicken Katsu Leftovers
- Refrigerate – in an airtight container for up to 5 days. I recommend waiting until the chicken has cooled to room temperature so it remains super crispy.
- Freeze—Place in the freezer in an airtight container or double-wrap in plastic for up to 3 months.
Best Ways to Reheat Chicken Katsu
When you reheat this, be sure to keep the breading crispy. Because of this, I recommend reheating it in an air fryer at 350°F for 4 to 5 minutes or heating it in the oven at 350°F for 5 to 8 minutes until it is warm.
Want to try your hand at more copycat Japanese recipes? Here are some for you
Best Crispy Chicken Recipes
- Chick-fil-A Nugget Recipe
- Chicken Romano
- Chili’s Chicken Crispers
- Kentucky Fried Chicken
- Ritz Cracker Chicken
- Southern Fried Chicken
- Sweet and Sour Chicken
- Wingstop Chicken Thighs
Explore my Japanese and Chinese dishes, as well as the best chicken copycat recipes.


This will definitely be added to my favorite recipes. You make everything so easy for us. I’m thinking of even doing this for company that’s coming. Thanks for explaining in such easy to understand language.
Thank you Stephanie..I’m always looking for ways to change up chicken dinners! My question is can this be made in the air fryer and if so, do you have a recommended time/temp?
You can make it in an air fryer, I would bake it at 350 for about 10 minutes. Bread the same way, but before you pop them into the air fryer spray the breaded chicken with non-stick spray otherwise the panko will not brown.
Made this dish tonight and it was delicious. It was crunchy on the outside and juicy in the middle. My family loved it. Thank you so much❤️
Are the temperature measurements in Farenheit?
Yes, they are in Fahrenheit.
Wonderful recipe! I definitely recommend, the only suggestion I would make is use way less flour and eggs because I ended up wasting an 1-2 eggs and 1.5 cups of all purpose flour. Authentic and traditional to the Japanese Katsu, Also loved the sauce too!
Made this tonight. Hubby loved it and the leftover chicken will be great for sandwiches or in a salad. Thanks for the recipe
It love this recipe! Always used pork, but chicken is the new white meat in this house!! So tender. Instructions are so precise and easy. My husband loves it. Forgot the green onions at the store. Next time…right!! Now the sauce. You have to make the the sauce to make it a true Japanese fried chicken dish and this one has zest and flavor that compliments the meat. Served over rice.
Best recipe I found online.!!!
Thank you so much!!
I am so glad you like the recipe.
This was excellent and moist. I really didn’t know either how much salt to put on the chicken in the beginning, thank goodness I wasn’t heavy handed. They were crunchy and delicious. The recipe was a bit confusing with the temp for the “oil” and the temp to keep the chicken warm while the rest of them cooked. I also made the bbq it was a bit tangy, plus I love fresh ginger so I added a lot more.
This is a keeper. Thank you.
Hi! This recipe sounds great but I’m so confused with steps 5, 6 and 7. You heat the oven to 350 but also 200? And do you cook the chicken in the oven or as step 7 says in the pan? Thanks in advance for clarifying!
I am asking you to heat the oil in the pan to 350 degrees. I am asking you to heat the oven to 200 degrees so you can keep the chicken warm it until you are ready to serve. You could the chicken in the pan, if you can’t fit all of the chicken in at once, please keep it in a warm oven.
I NEVER leave comments, but this is so GOOD!! My picky kids and husband said to keep it on the menu and the sauce is awesome. Thank you!
The recipes great but I wish you would have been more precise in the measurements with the salt on the breasts because liberally I perceived to be a lot and these are wayy too salty
I am very sorry this happened to you.
I used this recipe to make chicken katsu for the first time ans it came out successfully! So simple but so tasty. I cant wait to make it again for my other family members. Thank you so much for sharing this ❤️❤️ !!
So glad you liked it!
Tried this for dinner tonight. My kids loved it and it was quick and easy! I’ll be cooking this often! Thanks!
I came across this recipe a few months ago and it’s become a family favourite! Thank you for making it so easy 🙂 I love making this with breast tenderloins, it’s extra juicy!
I am glad you like it!
Ugh! I’m at step 3 to beat the 3 eggs with water. I don’t see how much water to use…
I am sorry I didn’t list that for you, it’s about 1 1/2 tablespoons. I will add that to the recipe.
I’m confused about some things in this recipe. You noted we can use butter and garlic POWDER to make the Tonkatsu sauce, but in the list of ingredients for the sauce, you listed minced garlic instead. Butter wasn’t listed, you had down mirin and grated ginger. So which is it?
Also you wrote in your recipe, “Your pan should be large enough not to overcrowd the chicken.” twice. LOL
Thank you for letting me know about my saying garlic power, in the text above the recipe, I have amended the text to match the recipe. Fresh garlic is always best, garlic powder is a sad substitute. I’ll fire my proofreader immediately!
I didn’t know how easy this was to make. I love mine served with spicy mustard.
We made this tonight, and it was very good, it is a keeper. The sauce was so delicious, the garlic and ginger in it really makes it. Thank you so much😊
I haven’t tried he Chicken Katsu recipe yet. I wanted to confirm that the oven temp is 200 degrees. Is that right?
Thanks!
Yes, the 200 degree oven is to keep all of the chicken warm as you cook it. I want something that will help finish the cooking process, but not to overcook the chicken.
Where are the instructions for the tonkatsu sauce?
It is on the recipe.
excellent dish, thanks so much